Around the console
A tour of the Tessolo console: the sidebar, each site's sections, the Pages screen, the launch checklist, settings and quick navigation.
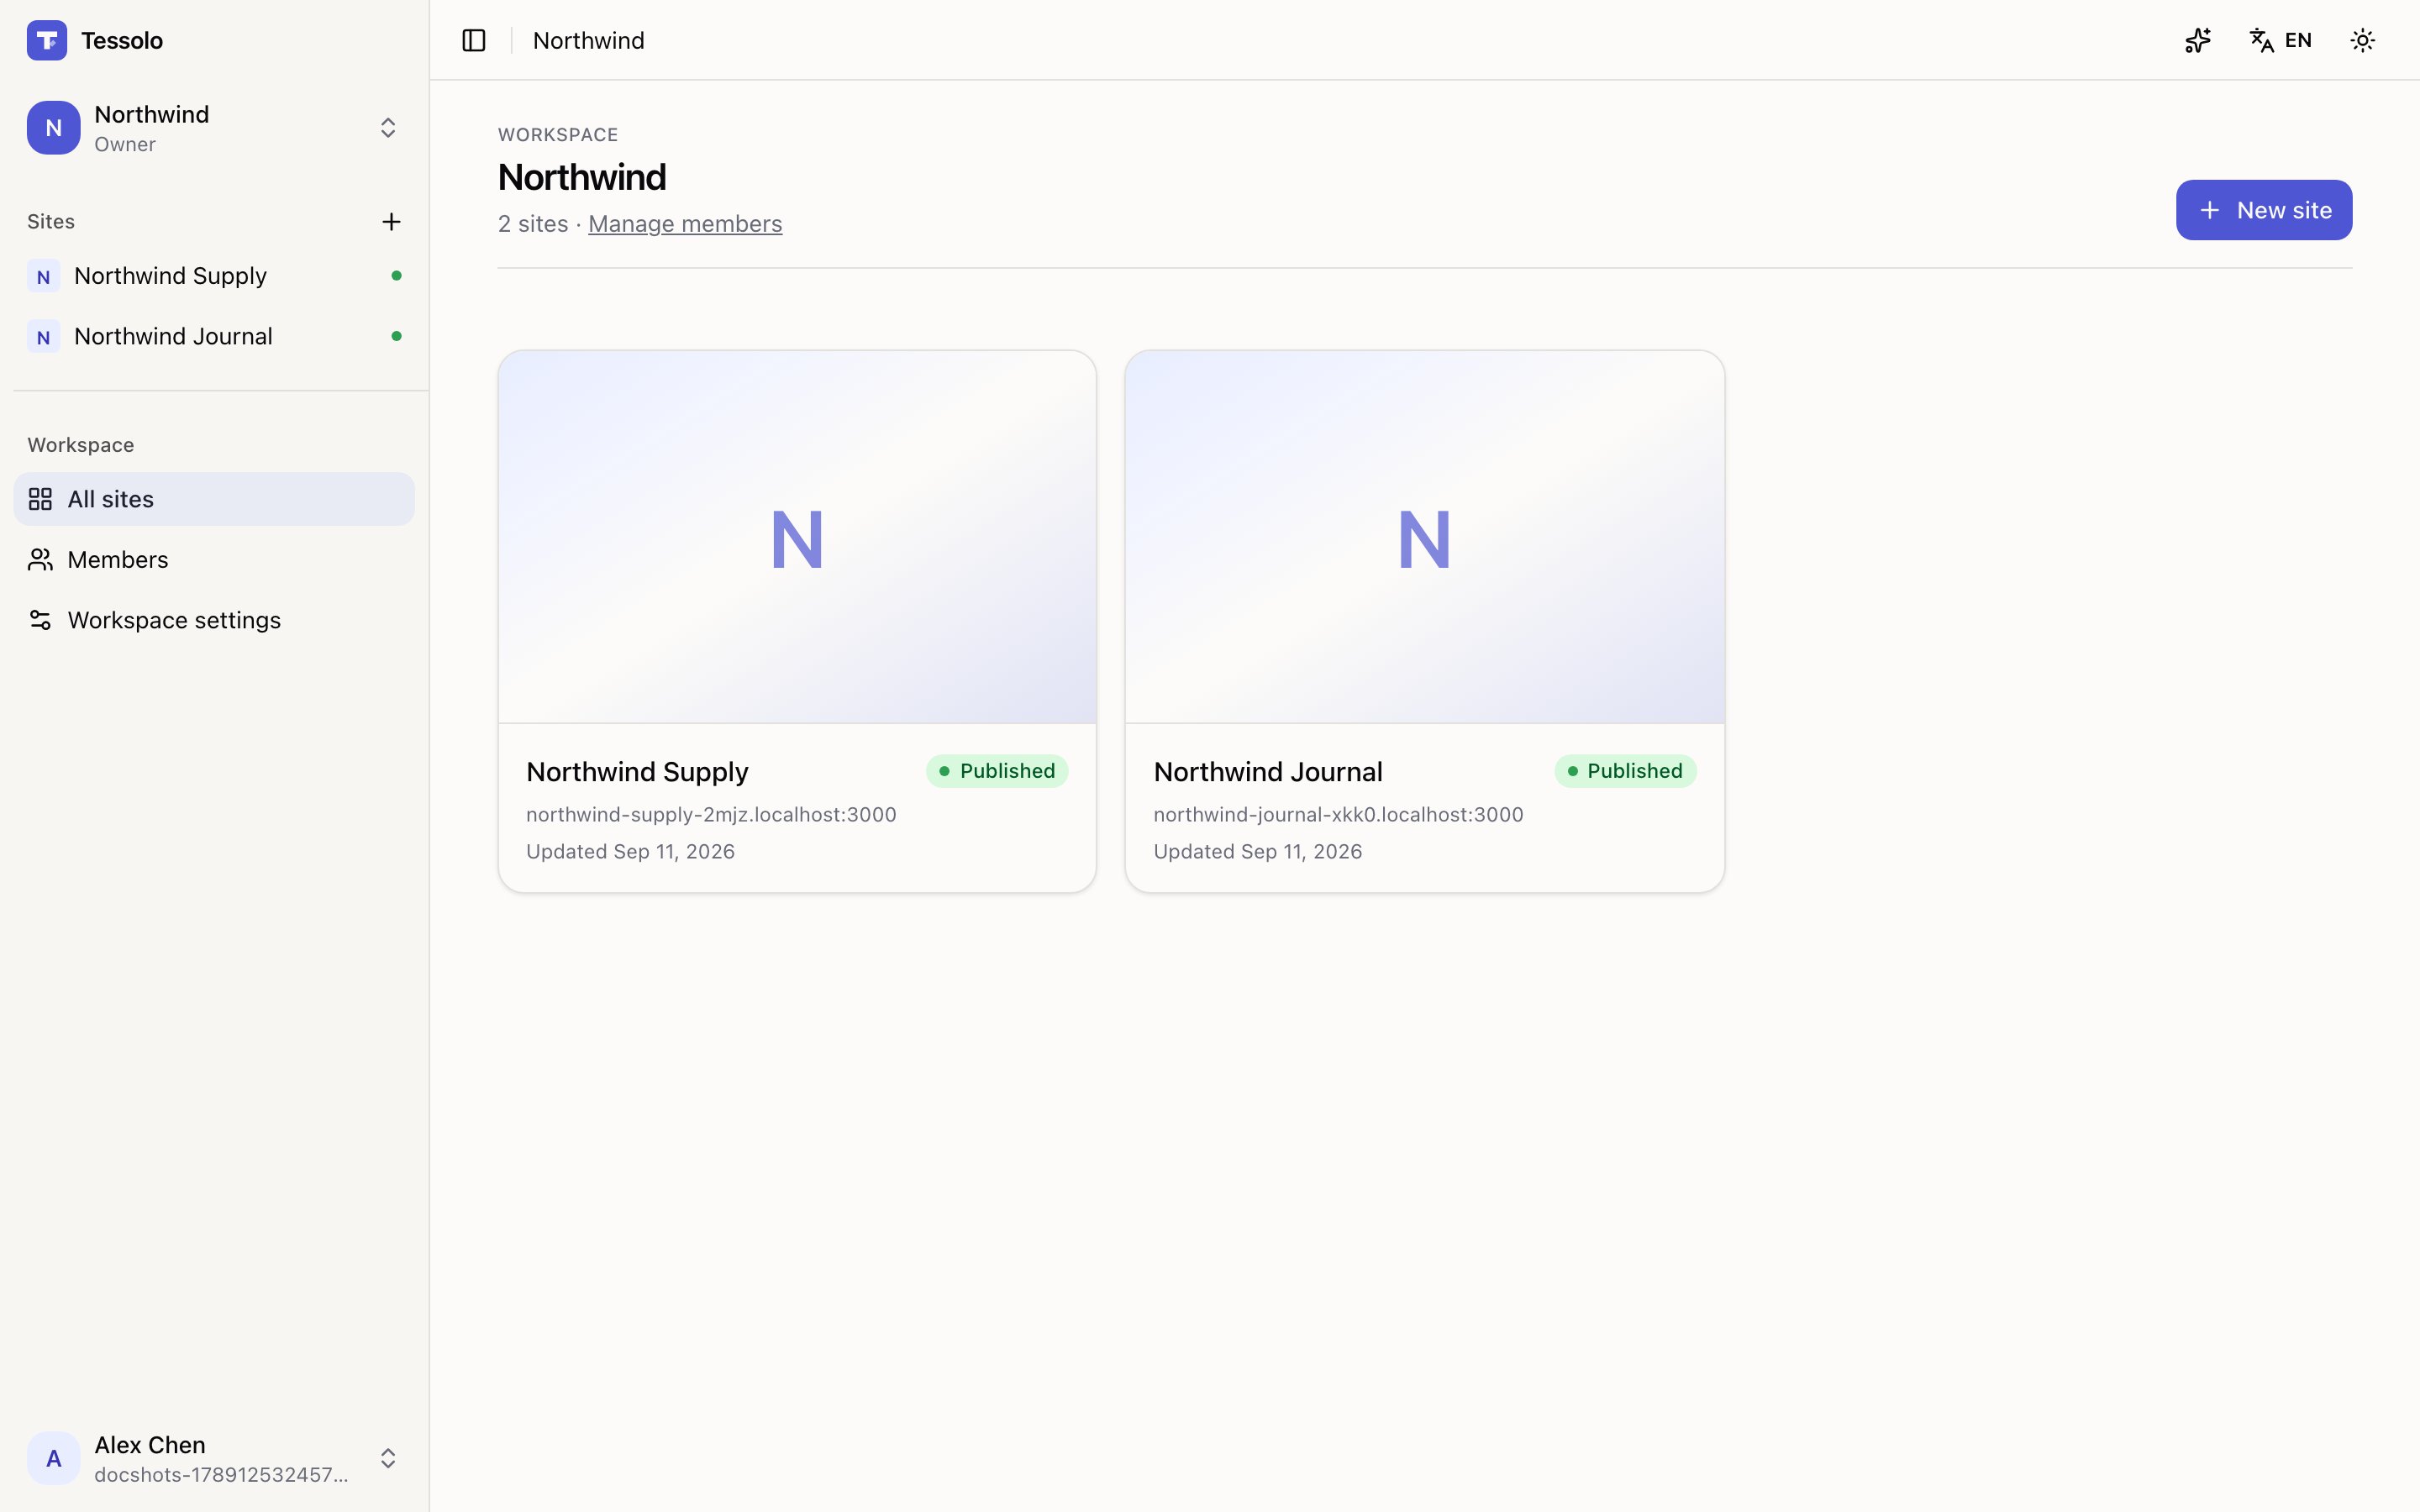
Everything outside the editor happens here.
The sidebar
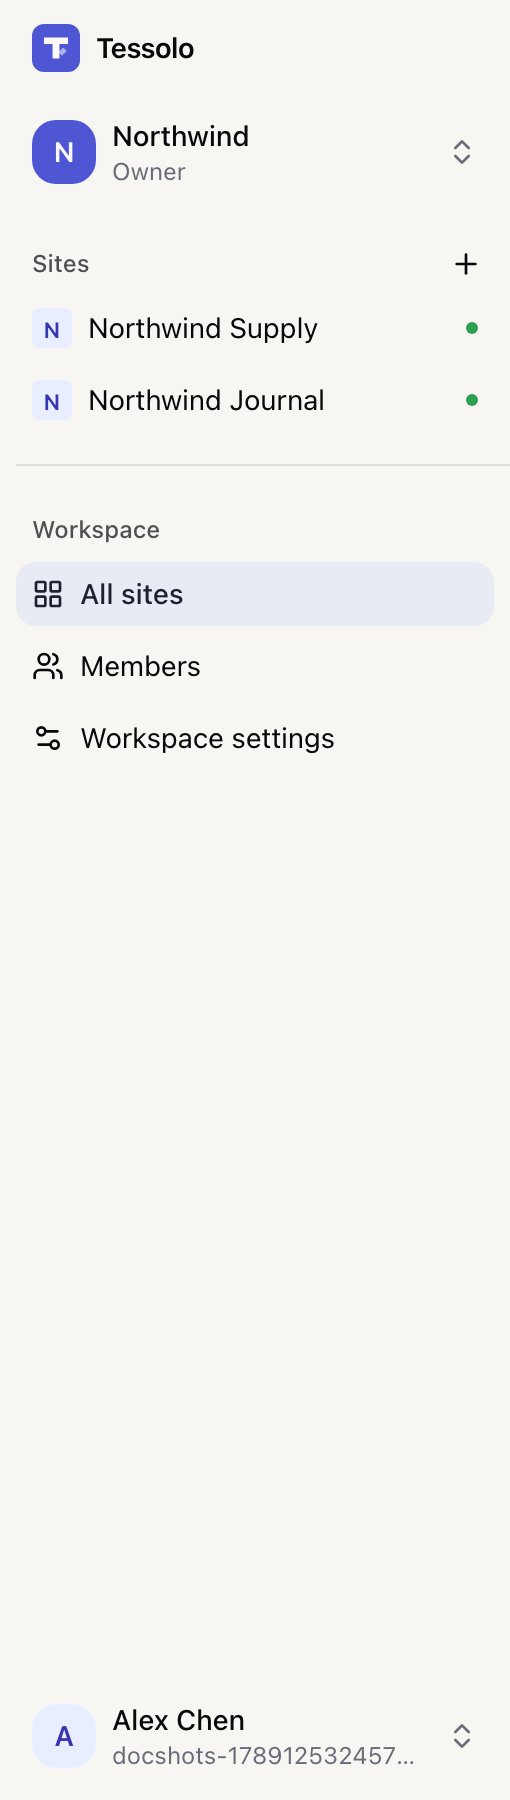
- 1Workspace switcher
- 2Sites — the current one expands into its sections
- 3Members, workspace settings, billing
- 4Your account
Sites lists everything in the workspace, with a + to create one. A green dot means published. Click a site and it expands into its six sections.
Workspace holds what's shared: all sites, members, workspace settings, and billing.
At the bottom is your own account menu — profile, appearance, language, sign out.
A site's sections
Six are always there:
| Section | What's there |
|---|---|
| Pages | Every page, publish, the pre-publish check, the launch checklist |
| Collections | Products, articles, anything repeating |
| Form submissions | What visitors have sent you |
| Media | Images, videos, files, fonts |
| Analytics | Visitors, top pages, referrers |
| Settings | Everything else, in six groups |
Two more appear only once the site uses them, so a plain marketing site is not left staring at two permanently empty screens:
| Section | Appears when |
|---|---|
| Orders | Online purchase is switched on under Settings → Payments |
| Site members | A page is set to members-only, or somebody has signed in |
Editing pages happens in the editor, which opens from the Pages section.
The Pages screen
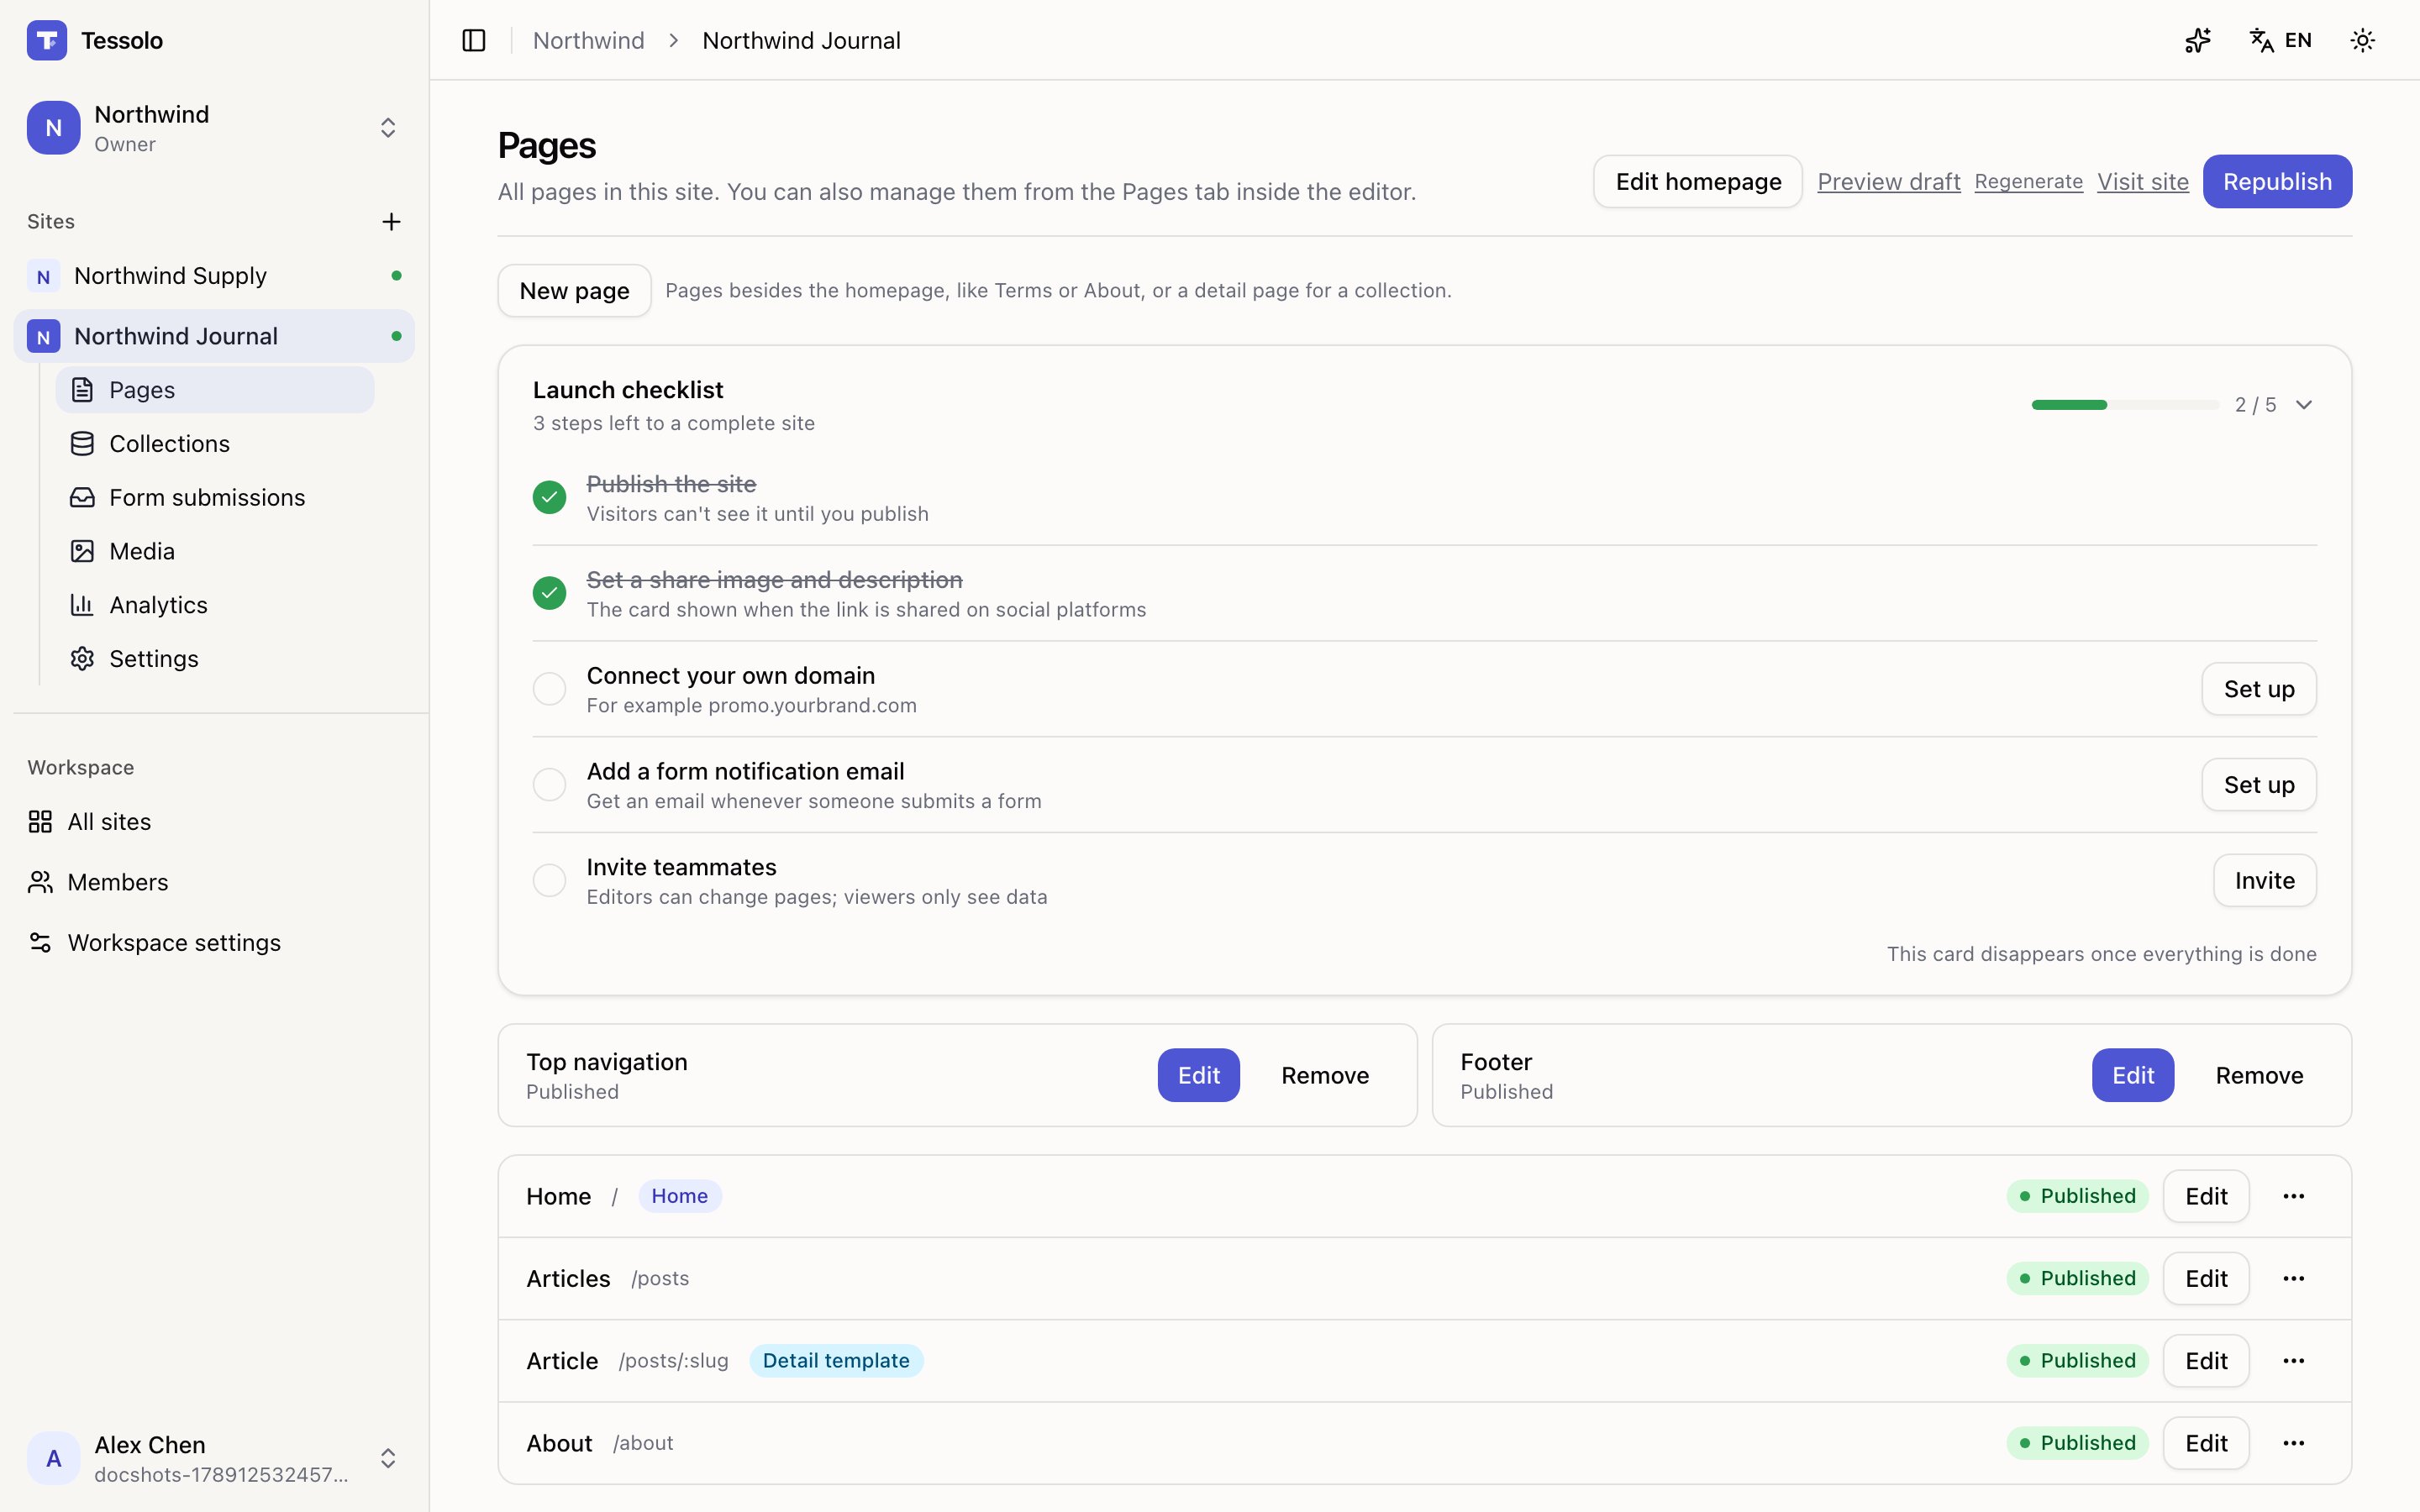
The one you'll open most. It lists every page with its status, and carries the Publish button, the pre-publish check, and links to preview the draft or visit the live site.
The launch checklist

A new site shows a short checklist at the top: publish, add a description and share image, connect a domain, set a notification email, invite a teammate.
Click the row to fold it away — it stays foldable, so it's there when you want it. It disappears on its own once everything's done.
Settings
Six groups down the left, and only the group you're on is shown:
- Site — Basics, SEO, Languages
- Publishing & access — Custom domain, Redirects, Password protection
- Selling & members — Payments
- Notifications & analytics — Analytics, Form notifications
- For developers — Custom code, Outbound integrations, API keys
- Advanced — Transfer a site, Danger zone
If a group's name says For developers, it is genuinely not for you — nothing in there is needed to run a site.
Each group saves on its own. Domains and redirects apply immediately — marked Applies immediately — while the rest need a republish.
Getting around quickly
Breadcrumbs at the top show workspace › site › section. The site name in the breadcrumb switches sites without going back to the list.
Inside the editor, ⌘K jumps to any page.