Quick start
Build and publish your first Tessolo site in about ten minutes: pick a template, change the headline, swap an image, check phones, publish.
By the end of this you'll have a real site on a real address. Nothing here is throwaway — you can keep working on the same site afterwards.
You don't need a domain. Every site gets a working public address the moment you publish.
Create a site
From your workspace, press New site. If this is your first time, Tessolo has already made a workspace for you.
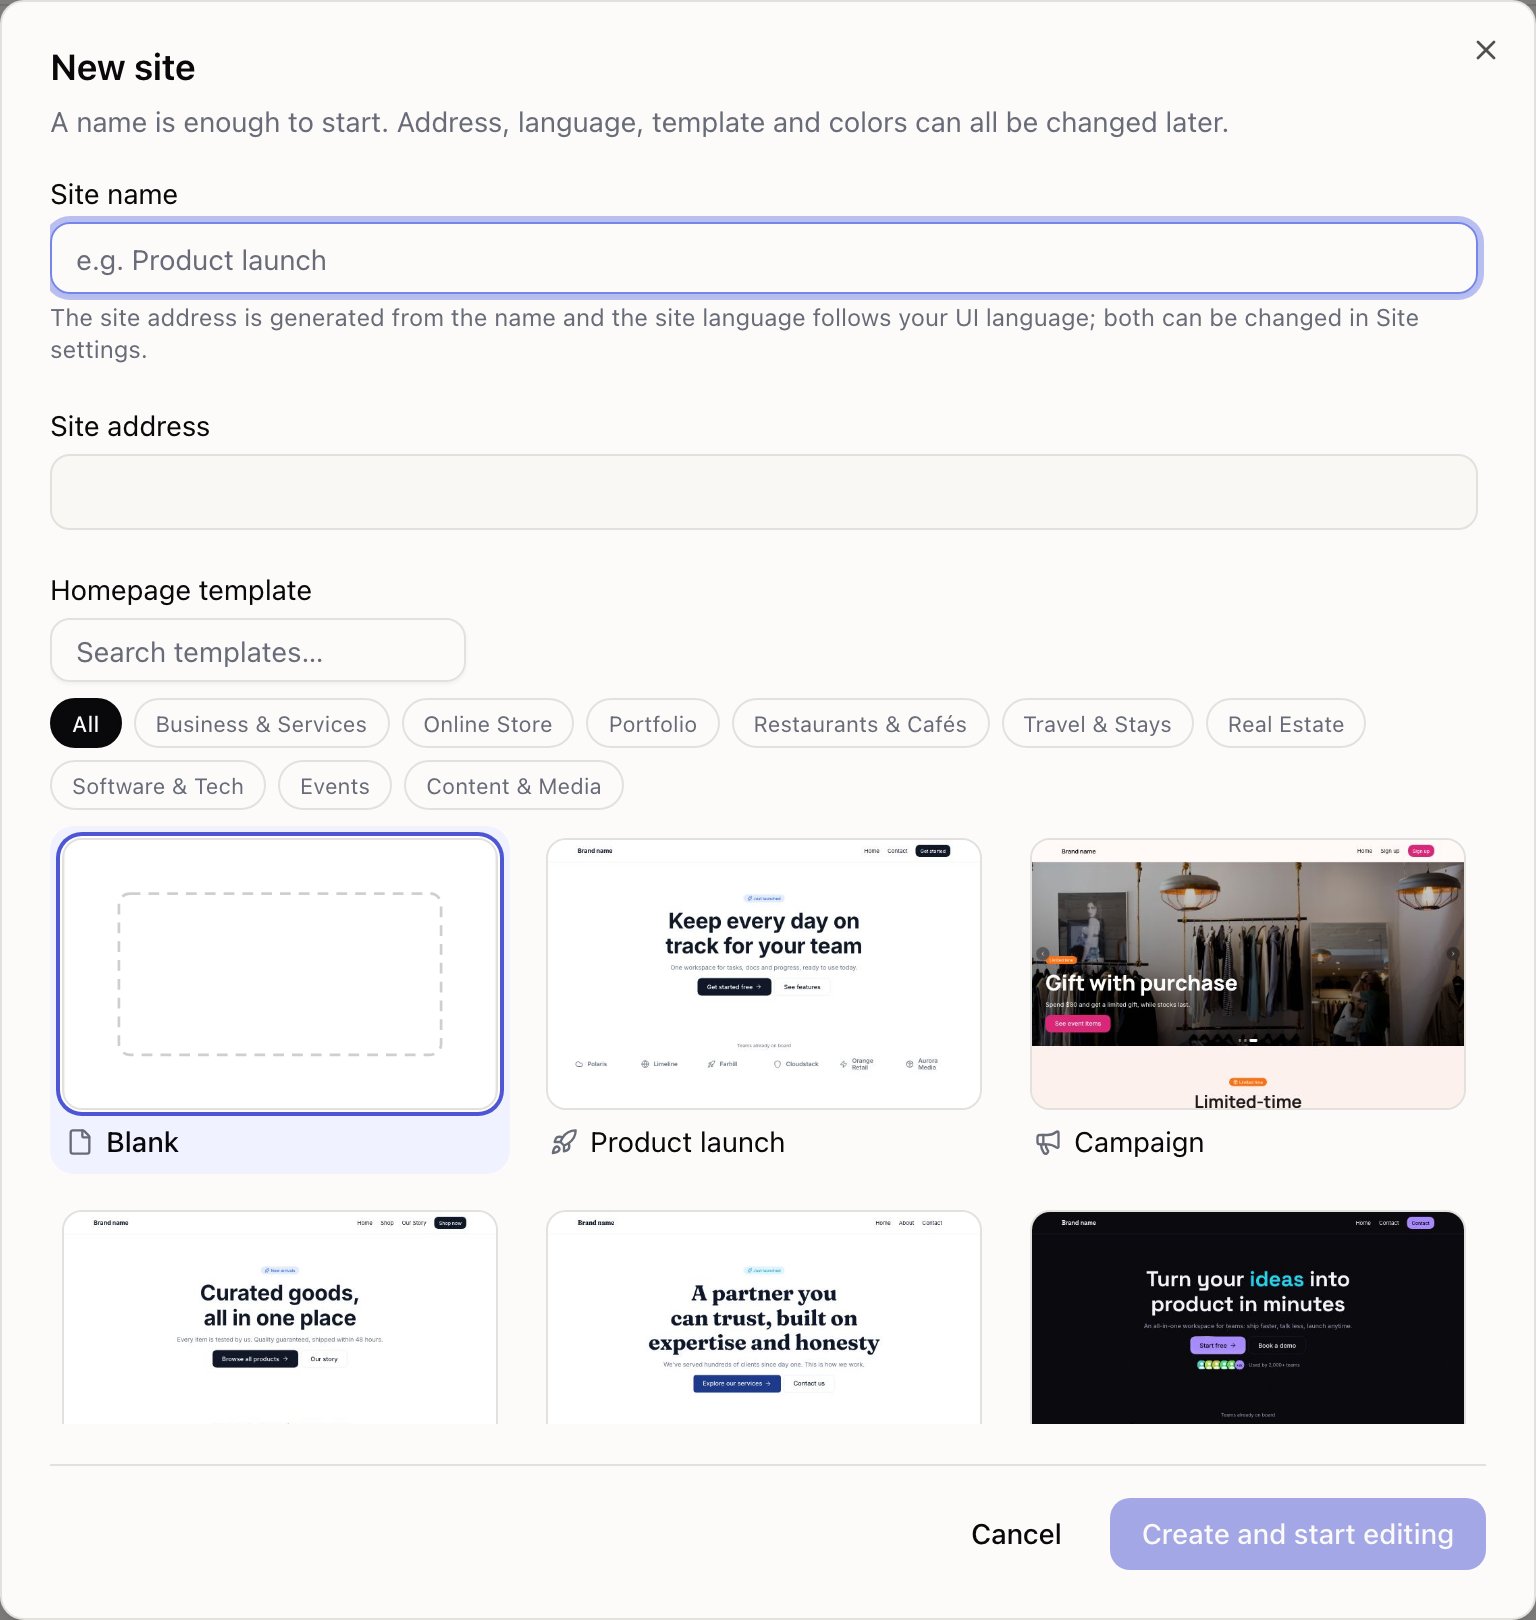
Pick a template that matches what you're making — Blog / Newsroom for articles, Brand Store for products, Company for a plain business site. Four of them (Campaign, Brand Store, Agency, Blog) come with a sample collection and entries already filled in, which saves you a lot of setup.
Then pick a colour scheme. It sets fonts and colours for the whole site and you can change every part of it later, so don't overthink it.
The site address is suggested from the name. You can edit it now; changing it later means old links stop working.
Look around the editor
Creating the site drops you straight into the editor on the homepage.
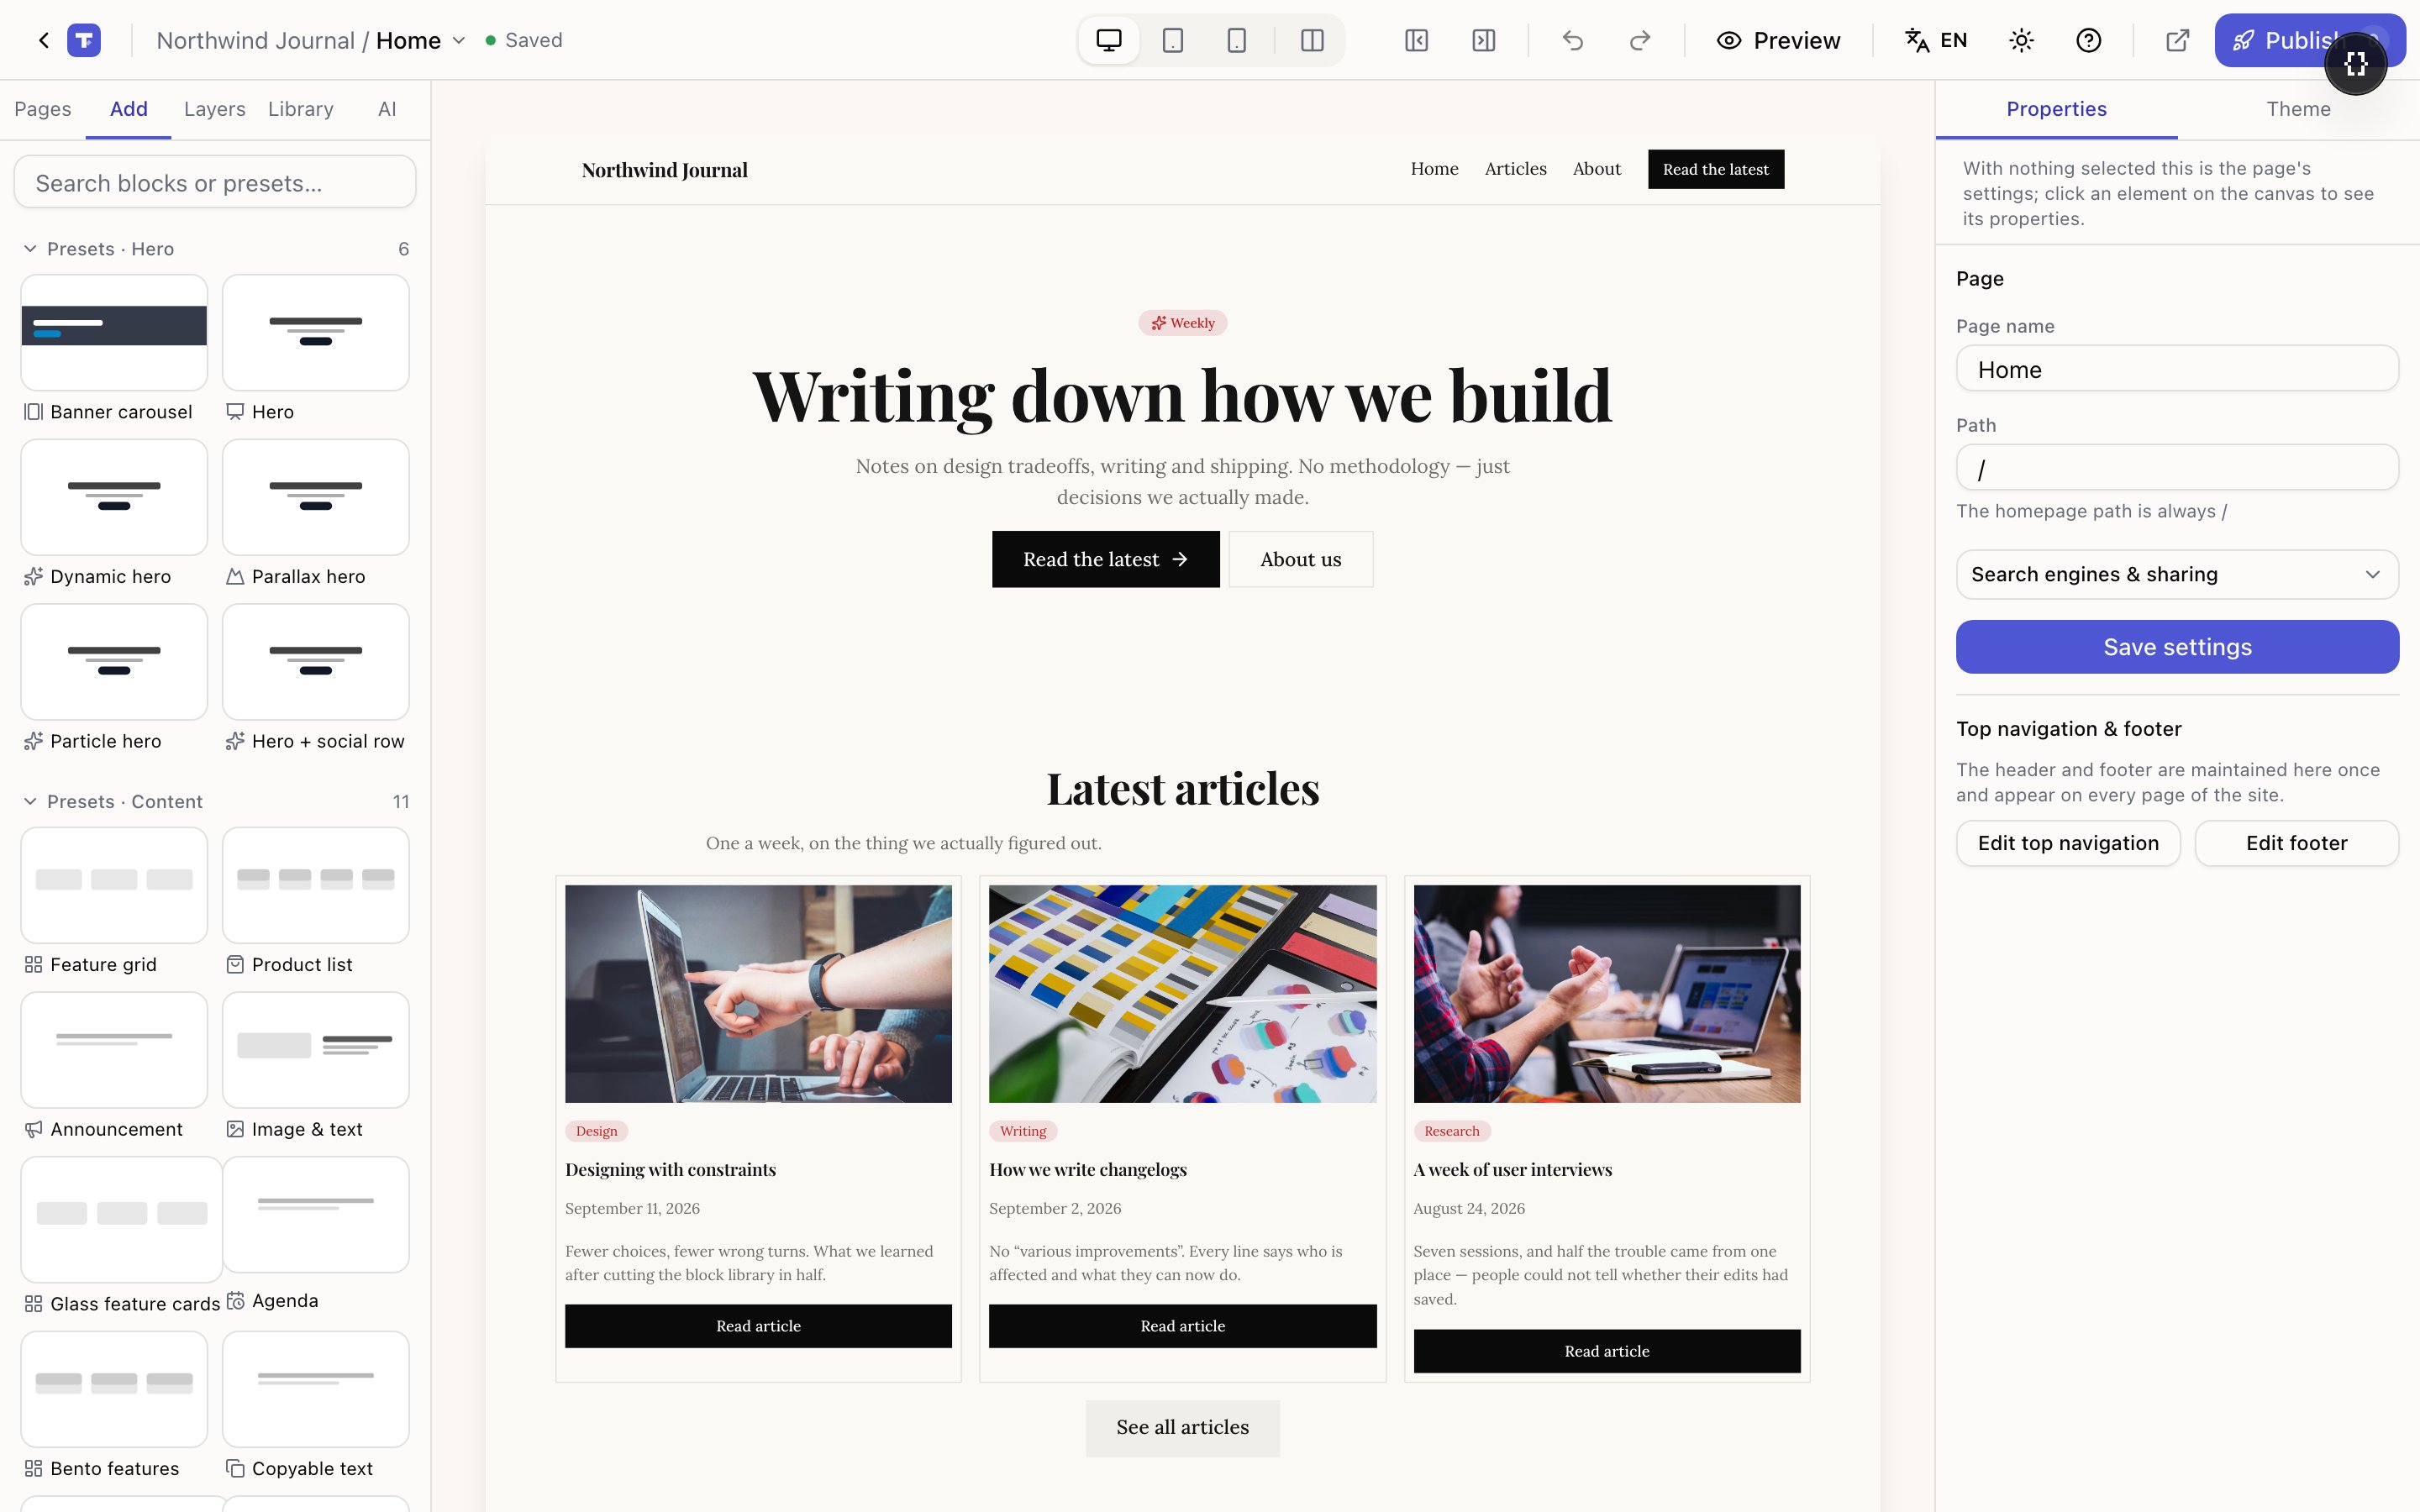
Three things to notice: the left panel is where you add things, the middle is your actual page, and the right panel always shows settings for whatever is currently selected. If the right panel looks empty, nothing is selected — press Esc and click a block.
Change the headline
Double-click the big heading on the canvas and type over it. Press Enter or click somewhere else to finish.
That's the fastest way to change text. The same text also appears in the Text box in the right panel — either works.
Clicking a button on the canvas selects it instead of pressing it. That's deliberate: the canvas is for editing, not for trying things out. Use Preview in the top bar when you want to click through the site as a visitor.
Swap an image
Click any image, then use Replace in the right panel. You can drag a file straight into the media library, or paste one from your clipboard.
While you're there, fill in the Alt text box — one short sentence describing the picture. It's what screen readers announce and what search engines read, and the pre-publish check will remind you if it's empty.
Add a section
Open the Add tab in the left panel. Ignore the individual blocks for now and look at the Presets at the top — whole sections, already designed.
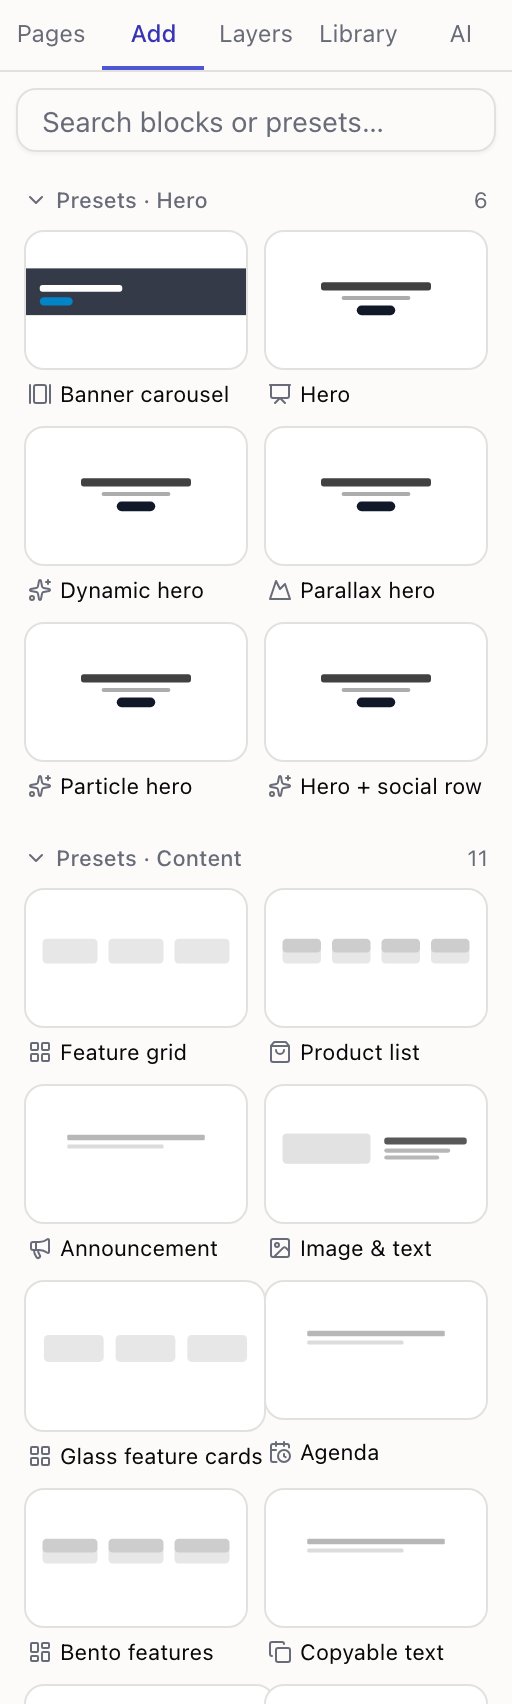
Drag one onto the canvas. A blue line shows where it will land. Drop it, then edit the text the same way you did the headline.
Check the phone layout
Most visitors will be on a phone. Use the device switcher in the top bar — or press 3 — to see it.
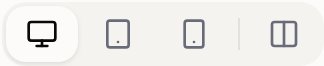
Blocks reflow on their own, so this is usually just a look. If something needs fixing, change it while the phone view is active and the change applies to phones only. Full explanation in desktop, tablet and phone.
Press 1 to go back to desktop.
Publish
Press Publish in the top bar.
Before it publishes, Tessolo runs a quick check for the things people forget — a page with no description, a button with no link, an image with no alt text. Fix what's worth fixing; none of it blocks you.
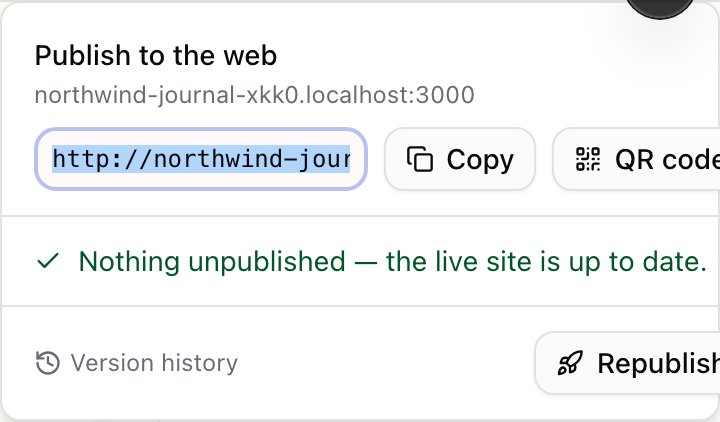
Press Publish again to confirm. It takes a few seconds. You'll get a link and a QR code — open the link and you're looking at the real thing.
What to do next
Add your own pages
Create pages, set the homepage, add them to the top navigation.
Set up a collection
For products, articles or anything else you'll have more than a few of.
Make the design yours
Generate a palette from your brand colour and pick fonts.
Connect your domain
Point a domain you already own at this site.