Sell online with Stripe
Connect your own Stripe account, put a Buy button on a product, and take payments straight into your account.
Visitors can buy items from a collection right on your site. Checkout runs on Stripe's hosted payment page, the money goes into your own Stripe account, and every order shows up under Orders in the console. Tessolo doesn't take a cut.
Starter and aboveConnect your Stripe account
Press Connect
Settings → Payments → Connect Stripe. You're sent to Stripe to sign in to an existing account or create one, and to fill in the details Stripe needs before it lets an account take payments (business type, bank account, identity). Stripe keeps those; we never see them.
Come back and check the status
When Stripe sends you back, the card shows Ready once the account can take payments, or Setup incomplete with a Finish setup button if Stripe still wants something. You can leave and come back later; the button always continues where you stopped.
The connection belongs to your workspace: every site in it sells into the same Stripe account.
Switch on Sell online and pick a currency
On the same page, switch on Sell online and choose the checkout currency. The
number in an item's Price field is charged in that currency — 129 means 129 dollars,
euros or yuan.
Optionally choose the page buyers land on after paying, collect a shipping address for physical goods, allow promotion codes (created in your Stripe dashboard), or require buyers to sign in first (see the members area).
Put a Buy button on the page
Two places, depending on where the product appears:
- On the product's detail page — add a Button and set On click to Buy this item. It sends whatever item the page is showing to checkout.
- On a list card — select the card's button Field and set Show as to Buy button. Each card then buys its own item.
The price always comes from the item's published Price field on the server, never from the page, so an old page can't sell at an old price. Draft items and items without a price refuse to check out.
Until Sell online is on, a Buy button tells visitors online purchase isn't available, and the pre-publish check lists it so you don't ship a dead button by accident.
Let visitors buy several things at once
A Buy button checks out one item. For a shop where people pick a few things first, add a cart. Three blocks under Site in the insert panel do it:
- Cart drawer — the panel that slides in from the side with the items, quantities and a Checkout button. Put one in your header (the top navigation bar's page) so every page has it.
- Cart icon — the cart symbol with an item count. Drop it into the navbar's actions slot next to your call-to-action button.
- Add to cart — on a list card, set the card's button Field to show as Add to cart button; on a product's detail page, set a Button's On click to Add to cart. You can also give any button Open the cart or Check out the cart.
The cart lives in the visitor's browser and survives page changes and reloads. Once a visitor signs in as a site member, their cart follows them across devices — what they add on a phone is still there when they sign in on a laptop. Prices in the drawer are for display; checkout recalculates every line from the published Price field, exactly like the Buy button. The pre-publish check warns if a page has cart buttons but the site has no cart drawer.
Sizes, colors and other variants
When one product comes in several versions, give the collection a Variants field (see Field types) and list them on each item: name, optional price, in stock or not.
Then drop a Variant picker block onto the product's detail template page. The first in-stock variant is selected by default; the Buy and Add to cart buttons on that page charge whichever variant is selected, and the cart shows the variant under the item name. Cards in a list don't have a picker, so their buttons take the first in-stock variant.
Prices are read from the published item on the server: a variant with its own price is charged that price, one without uses the item's price. Sold-out variants can't be bought even if a stale page still offers them.
Show buyers their order
- Order summary — put this block on the page you chose as After paying, return to. When Stripe sends the buyer back, the block reads the order from the address and shows what they bought, the total and the payment status. On any other visit it shows nothing.
- My orders — for the members area. Signed-in members see every order placed with their email; signed-out visitors get a Sign in prompt. Buyers become members automatically, so anyone who has paid can sign in with a magic link and find their orders.
Orders
Orders lists every checkout: time, buyer email and name, items, amount and status. Filter by status and export the lot as CSV.
- Paid — Stripe confirmed the payment.
- Pending — the checkout page was opened but not paid yet.
- Canceled — the checkout expired or the buyer left.
- Refunded — you refunded it in your Stripe dashboard; the status follows.
A paid order also sends a note to your form notification email (if you've set one) and makes the buyer a member of the site by email, so they can sign in later with a magic link.
To push orders into your own tools, add an outgoing integration and tick Order paid: Slack, Feishu, Discord, Zapier, Make or any webhook address gets one message per paid order.
Good to know
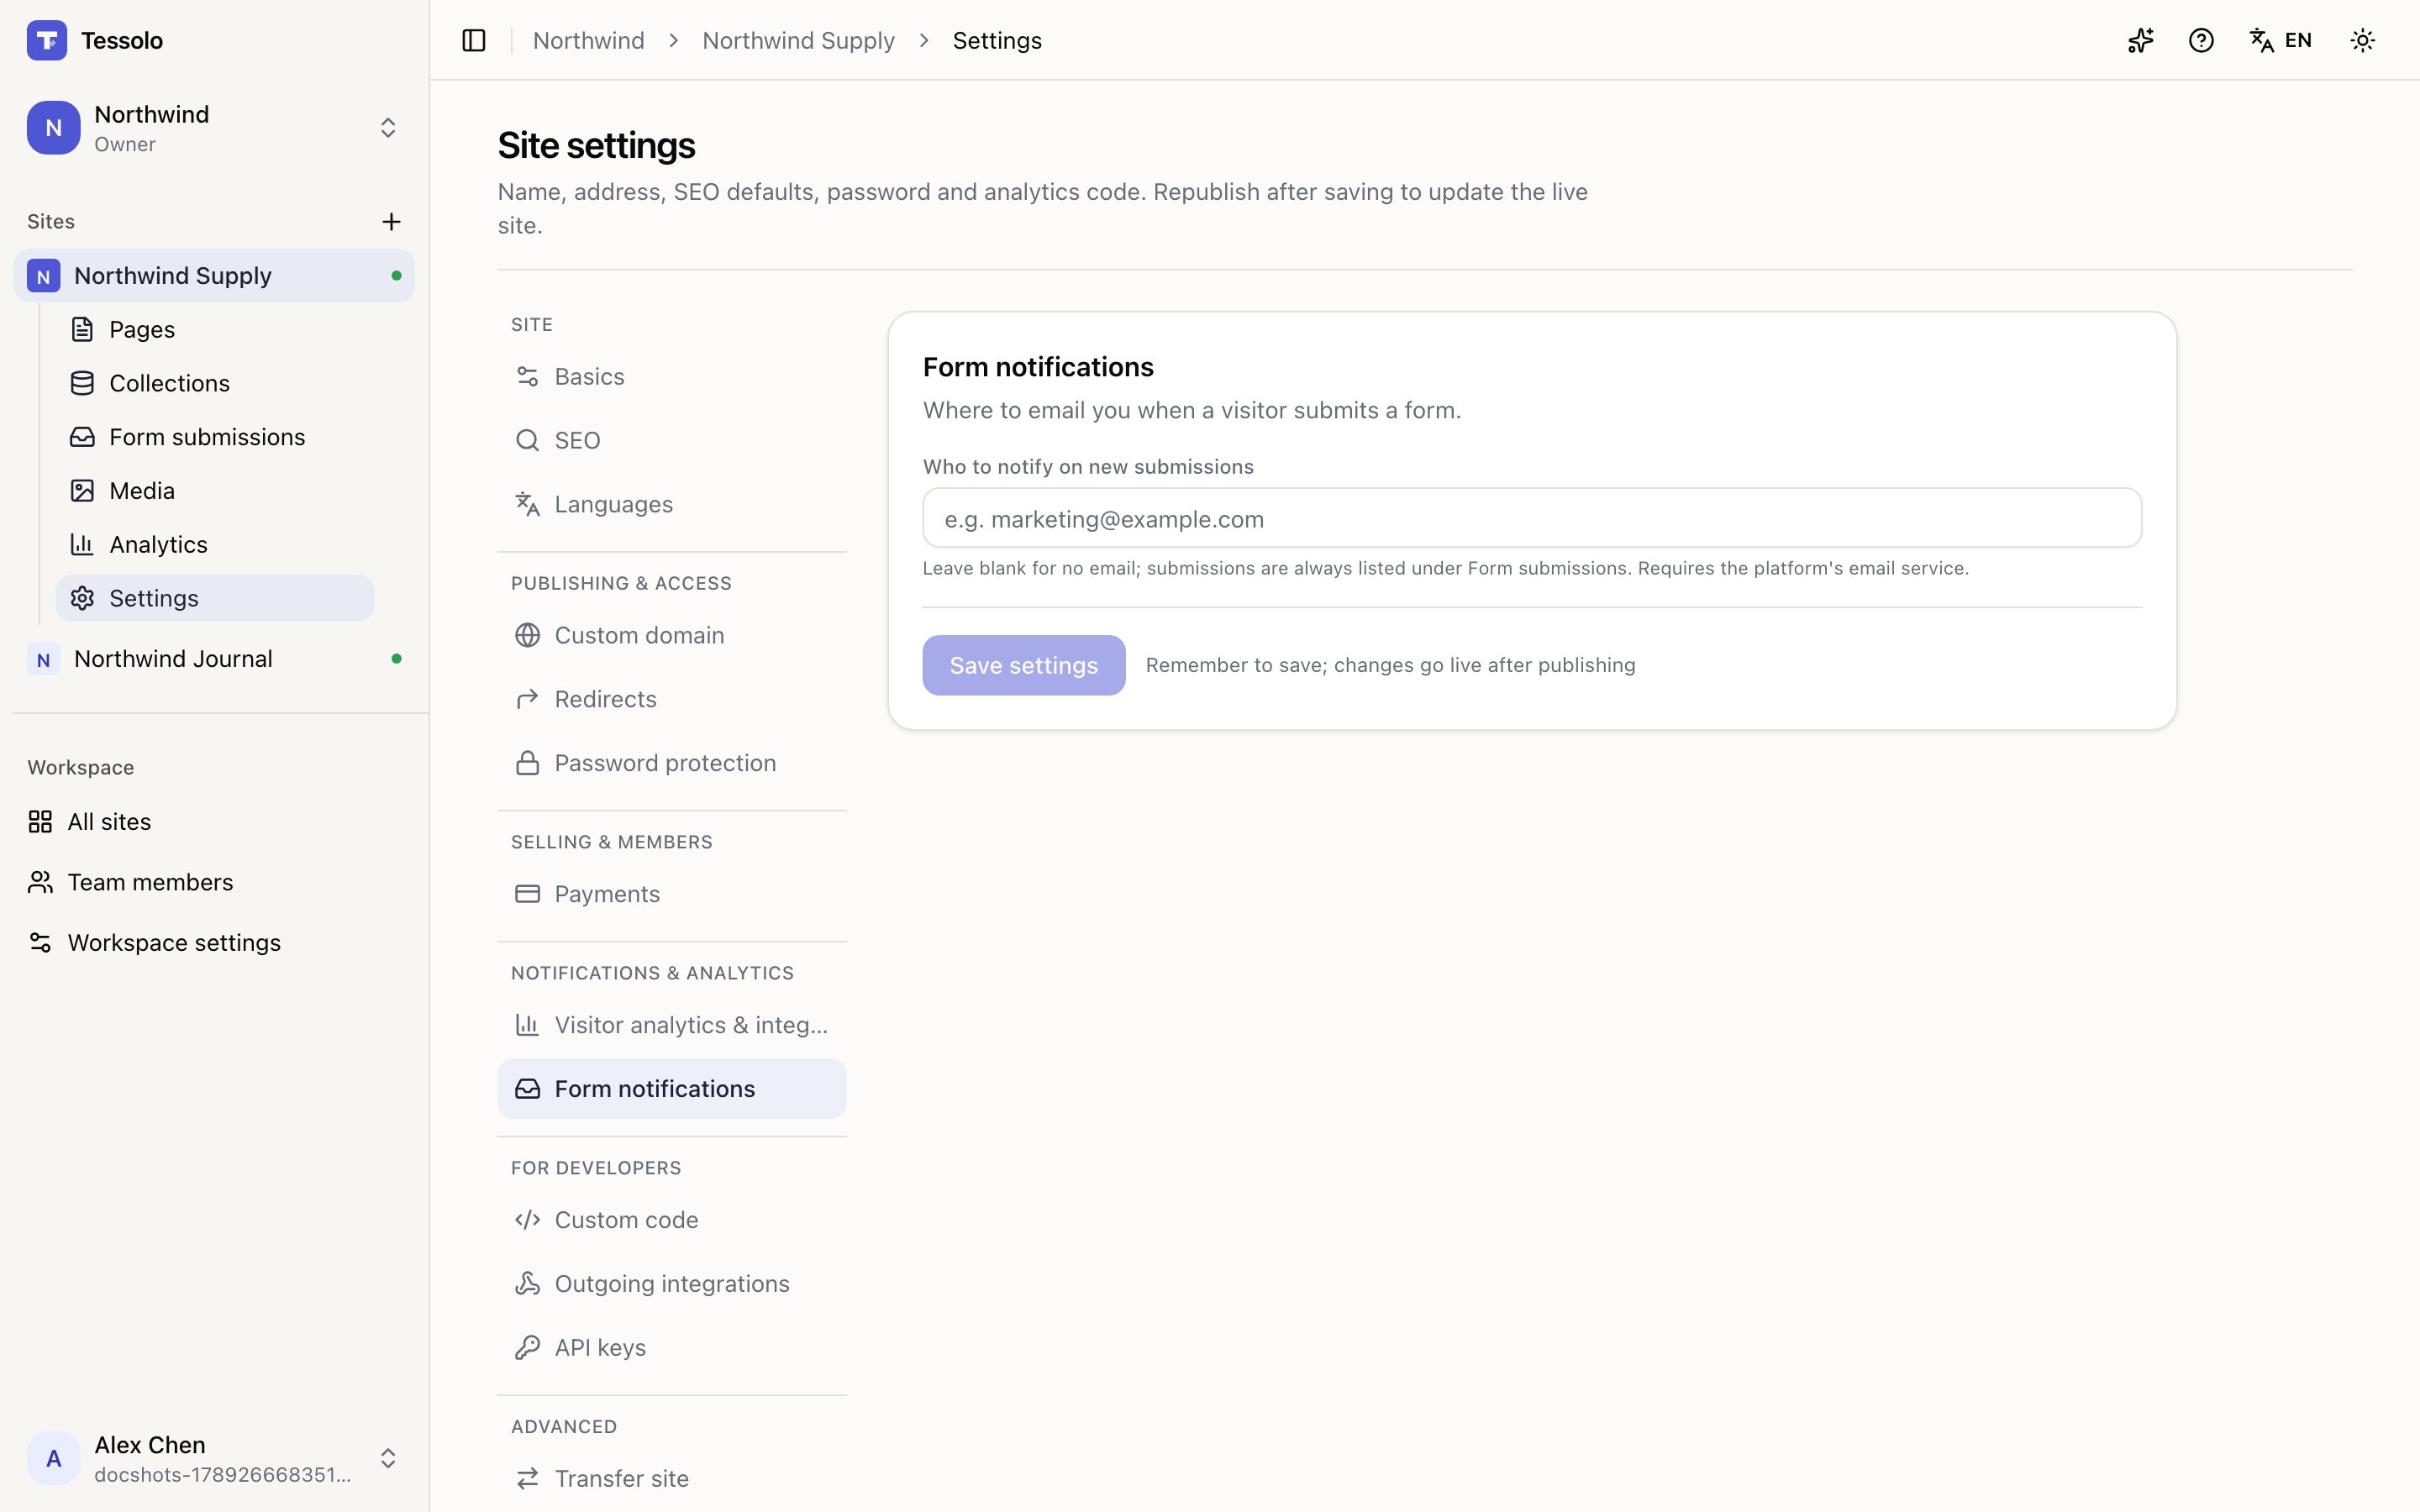
- Buyers get an order confirmation email from your site's name right after paying: what they bought, the total and an order number. Replies go to the address under Settings → Form notifications. Switch it off under Settings → Payments → Email buyers an order confirmation if Stripe's own receipt is enough for you.
- Refunds, disputes and payouts happen in your Stripe dashboard, not here.
- Stripe's checkout page handles card details, Apple Pay and Google Pay; nothing is typed into your site.
- Disconnecting in Tessolo only stops new checkouts. Your Stripe account isn't changed, and existing orders stay in the console.
API keys: let other systems read and write your content
Issue a key, send it with each request, and read or write collections and form submissions from your own tools.
Custom code and embeds
Add third-party widgets to one Tessolo page with the Embed block, or site-wide scripts with custom code — plus common uses and limits.